Skip to content
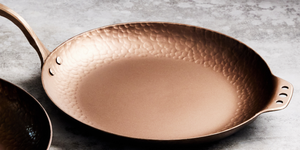


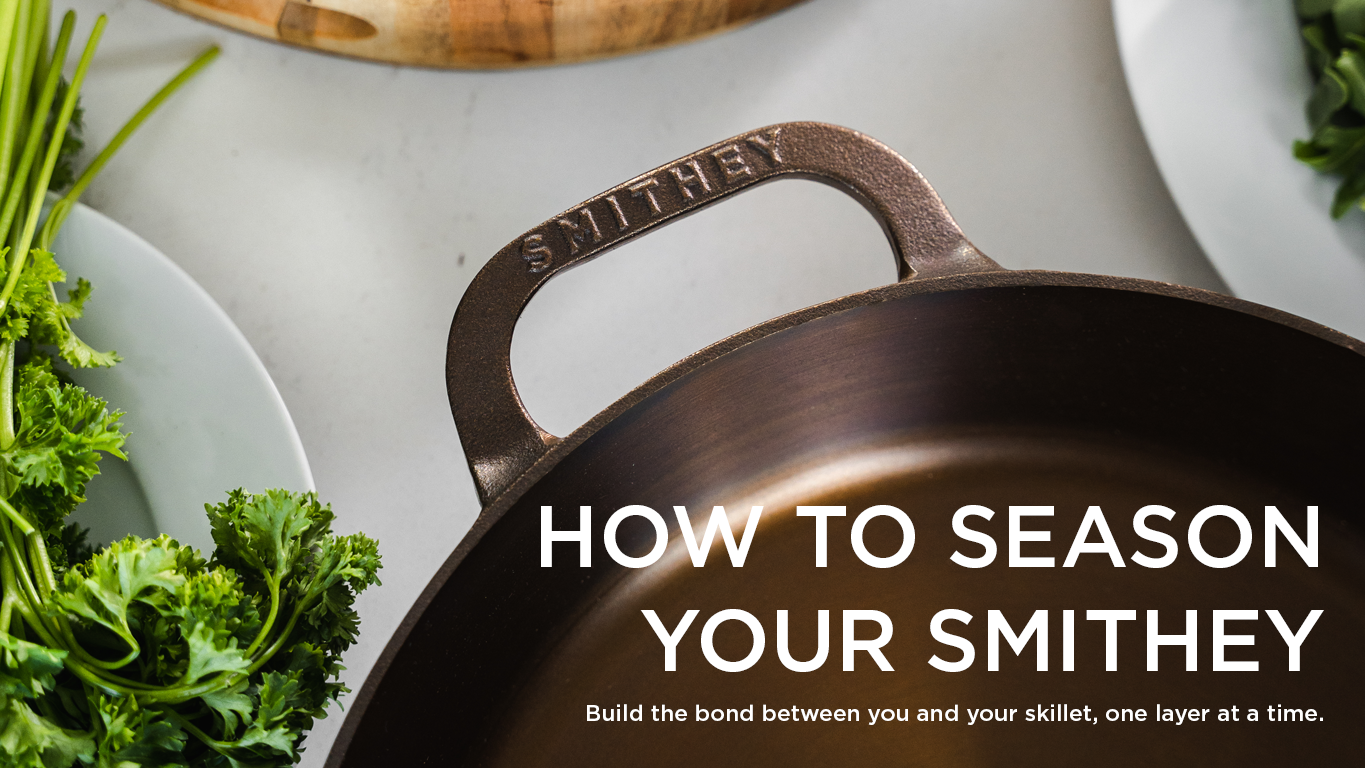
SO YOU'VE GOT A NEW SMITHEY CAST IRON SKILLET - CONGRATULATIONS!
So you’ve got a new Smithey cast iron skillet – congratulations! If you’re new to cast iron, the term “seasoning” might sound mysterious or intimidating. Don’t worry – seasoning is the same, simple process for all cast iron pans (Smithey included), and involves just a few easy steps. In a nutshell, seasoning is just a thin layer of oil that bonds to the iron at high heat, creating a natural non-stick coating that also prevents rust. In this helpful guide, we’ll show you an easy stove-top seasoning method used by cast iron enthusiasts everywhere. Let’s get started.
STEP-BY-STEP GUIDE

1
Give your skillet a quick wash with mild dish soap and warm water to remove any debris, or caked-on food. (Yes, using dish soap is fine!). Rinse and dry your Smithey thoroughly. You can dry with a towel, then place the skillet on the stove over medium heat for a few minutes to make sure all moisture fully evaporates. Starting with a clean, dry pan is key – water on cast iron can cause rust, so be sure to get your skillet completely dry before moving on.

APPLY A (VERY) THIN COAT OF OIL
2
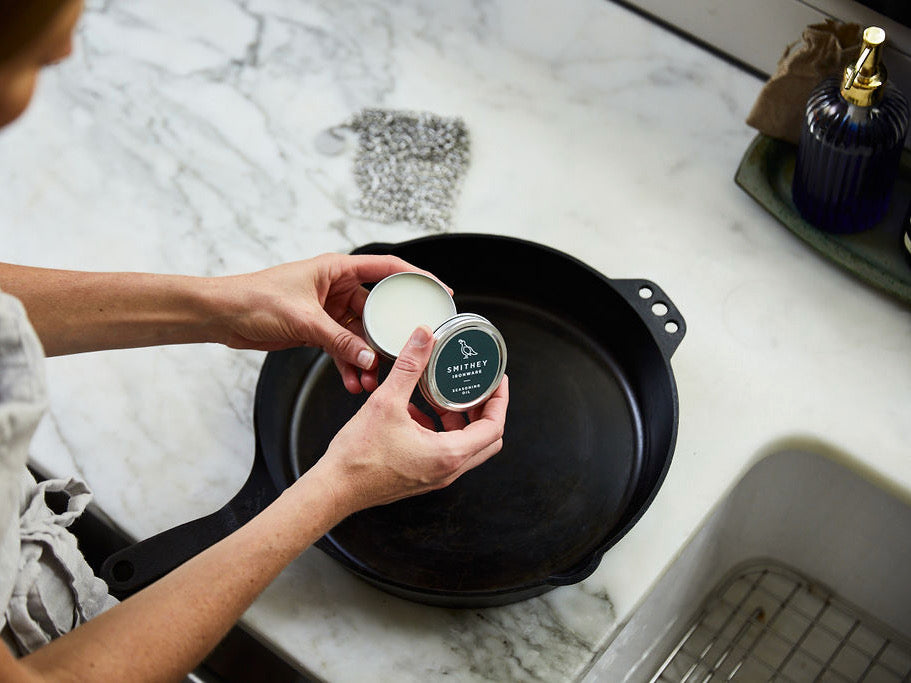
Here’s the important part. Take about a teaspoon amount of a high smoke-point, neutral oil (we at Smithey pre-season ours with grapeseed oil, but avocado oil, sunflower oil or even beef tallow will work well). Using a paper towel, rub the oil all over the cook surface of the skillet. Now wipe off all the excess oil. The pan should not look wet or reflective; it should be just barely shiny – like a very thin sheen. Remember, less oil is more when seasoning. If you leave too much, the oil can pool and turn sticky or gummy instead of forming a smooth coat. So wipe, wipe, wipe until it looks almost dry and thin layer of oil is left behind.

3
Place the oiled skillet on your stove-top burner. It’s best to use medium heat at first. Let the pan warm up slowly for a few minutes. Gradually increase the heat to medium-high. The goal is to get the pan hot enough that the oil reaches its smoke point – when you see faint wisps of smoke rising from the skillet’s surface. Don’t crank the heat to max right away; a slower heat helps the oil bond evenly (also, super high heat can actually burn off existing seasoning, which we don’t want). As the pan heats, occasionally wipe it again with a clean dry paper towel to catch any excess oil that might rise. Be careful! If things get too hot to touch, use a pair of tongs to hold the paper towel.

4
Once the skillet starts to smoke, it’s the magic moment. Keep the heat at the smoke point for about 60-90 seconds. This is when the oil is transforming into a hardened protective layer (a process called polymerization). You’ll notice the surface might turn from brownish to dark brown or even black, as the thin oil film bonds to the metal. Tip: turn on an exhaust fan or open a window during this step, to prevent smoke from building up inside.

5
After a minute or so of smoking and wiping, turn off the burner. Leave the pan on the stove and allow it to cool down naturally. Do not splash water on it or move it to a cold surface (sudden temperature changes aren’t good for any cookware). As it cools, the new seasoning layer will harden. You’ll likely see that the skillet is a bit darker and has a dry, smooth sheen. That’s exactly what we want – the oil has baked onto the iron, forming a nice initial seasoning layer.

(OPTIONAL) REPEAT
6
One round of stove-top seasoning is enough to get your Smithey ready for action. But if you want to build up a thicker seasoning, you can repeat steps 2-4 another time or two. Just ensure the pan has cooled back to room temperature before starting each new round. Remember to keep your oil layers super thin each time. Multiple light coats will create a more durable seasoning than one heavy coat.

LET'S COOK
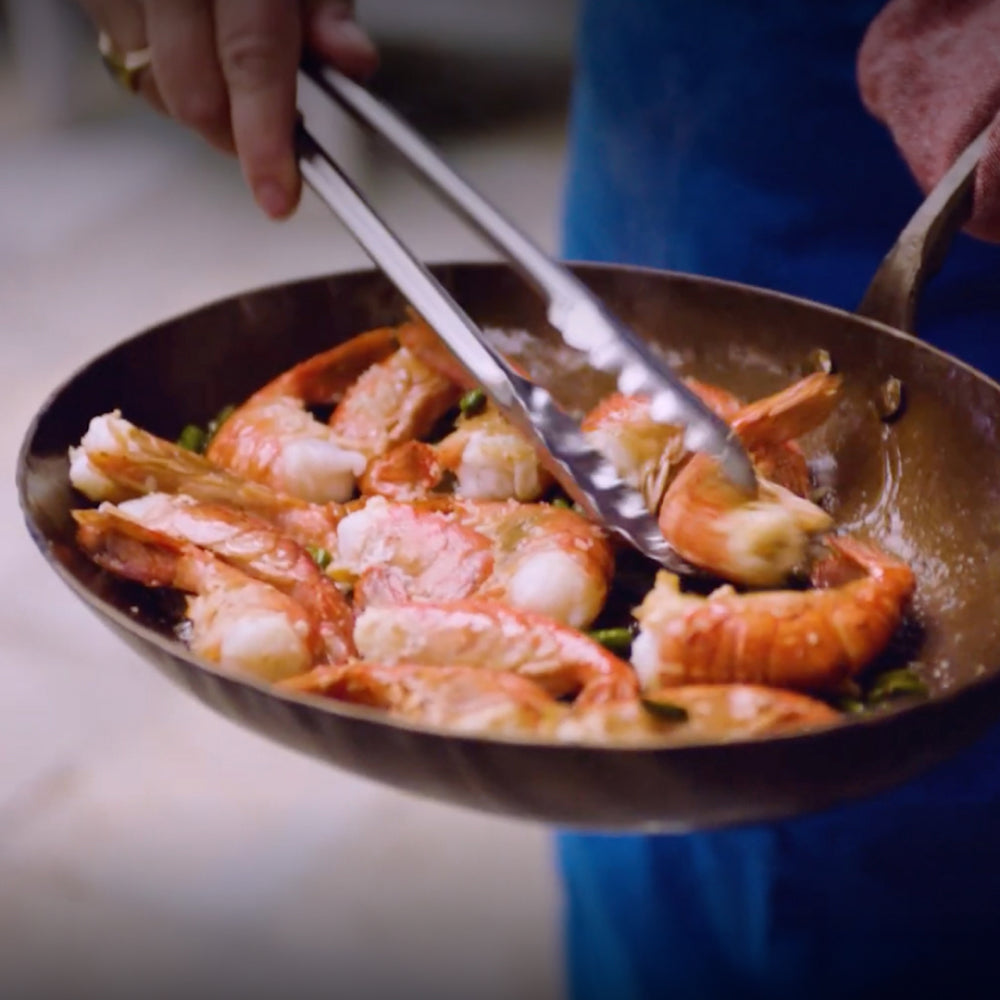
7
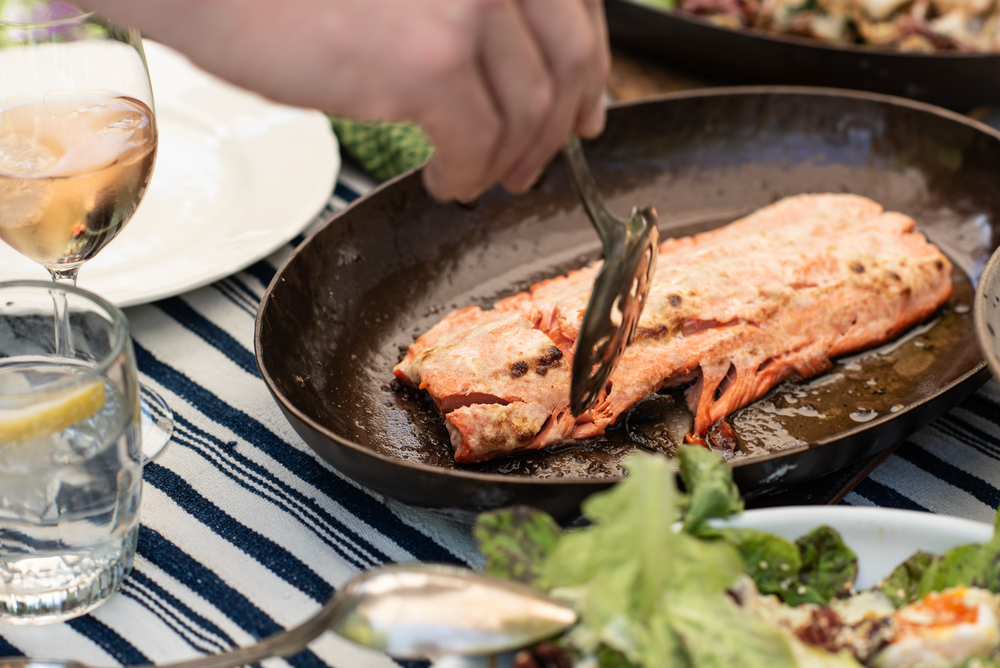
That’s it! Your Smithey is seasoned well and ready to use. At this point, the surface will already be semi-nonstick, and it will only get better the more you cook. In fact, the best way to build seasoning is simply to cook with your skillet regularly. Cook anything that has a bit of fat – searing meats, sautéing vegetables, etc. Each time you cook, especially with oils or fats, you’re laying down layers of seasoning that make the pan increasingly non-stick over time. So go ahead and fry up some chicken or make a juicy burger in your newly seasoned pan – your Smithey will thank you.
FREQUENTLY ASKED QUESTIONS
How Often Should I Season My Skillet?
The short answer: not very often. If a Smithey is being used regularly, especially for cooking with oils or fats, it will naturally continue to season itself through use. There’s no need to re-season your skillet on a strict schedule—only when you start noticing performance issues.
A good rule of thumb is to re-season when food starts sticking more than usual, or if you see bare or silvery patches where the seasoning has worn away. These are signs that the seasoning layer is thinning or uneven, and a quick touch-up will help restore your skillet’s non-stick performance and protect the iron underneath.
If needed, re-seasoning is simple: clean and dry the pan, apply a very thin layer of high-smoke-point oil, and heat it until it smokes. Let it cool, and you’ve added a fresh layer of seasoning. Just make sure to wipe away any excess oil before heating to avoid a sticky finish.
Otherwise, keep cooking! With regular use and good care (drying thoroughly, storing properly, and avoiding overly acidic or low-fat cooking early on), your Smithey will maintain and improve its seasoning naturally over time.
Will Acidic Foods Ruin My Seasoning?
It’s true - acidic ingredients like tomatoes, vinegar, citrus, and wine can wear down seasoning if the pan isn’t ready for them. But that doesn’t mean you have to avoid your favorite tomato sauces or braises. The key is timing and seasoning strength.
If a skillet is well-seasoned - meaning it’s been used regularly, has a deep patina, and easily releases food - then cooking acidic dishes now and then is perfectly fine. Think quick tomato-based sauces, chili, or a splash of wine to deglaze a pan. Just avoid long, slow simmering of acidic foods, especially in newer pans or ones with thin seasoning layers.
For those with newer cookware or developing seasoning, we suggest these tips:
Add acidic ingredients later in the cooking process, after proteins and fats have had time to coat the surface.
Keep simmering times short (under 30 minutes) to limit contact with the seasoning.
Clean and re-oil the skillet right after cooking to maintain the seasoning layer.
Acidic cooking now and then won’t ruin a well-loved Smithey - but regular high-acid cooking in a newer pan may slow down seasoning progress. When in doubt, it’s okay to reach for stainless or enameled cookware for highly acidic recipes until that cast iron patina is fully built.
Why Is My Seasoning Coming Off?
It’s totally normal for seasoning to change or appear to come off with use, especially in the early days of cooking with a new piece of cast iron. Seasoning is a layer of polymerized oil that bonds to the iron through heat, forming a natural, non-stick surface. Because this layer is built up over time and use, it can be thin or uneven at first — meaning some flaking, patchiness, or dull spots may show up. This isn’t a flaw; it’s part of the skillet’s evolution.
Seasoning may come off more noticeably if the pan is used to cook acidic foods (like tomatoes or vinegar-based sauces), scrubbed aggressively with metal tools, or run through a dishwasher (which we never recommend). These actions can break down or loosen the surface seasoning, but thankfully, cast iron is very forgiving — it can always be restored and improved with a little care.
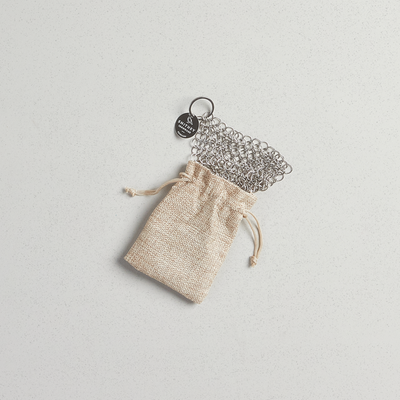
If you notice dark flakes or rust-colored spots, it’s a good opportunity to get educated on the benefits of continued use and occasional re-seasoning. We recommend a light scrub with a chainmail scrubber or brush, followed by drying thoroughly and wiping the pan with a thin layer of oil before heating it on the stove or in the oven (until smoking). This will help rebuild and strengthen the seasoning layer.
Always remember that a well-seasoned skillet is built over months and years of regular cooking; it's not something that happens overnight. Keep cooking, keep caring, and know that every meal is a step toward the perfect non-stick finish.